Showing posts with label tutorial. Show all posts

Wednesday, August 21, 2013

Newly discovered washi love - one (or many) DIY idea(s)

This keeping the schedule thing is pretty hard when you have a husband like mine... We've been married for almost 3 years and we are still working on a balance between my schedule freak atitude and his oh so spontaneous ideas. 

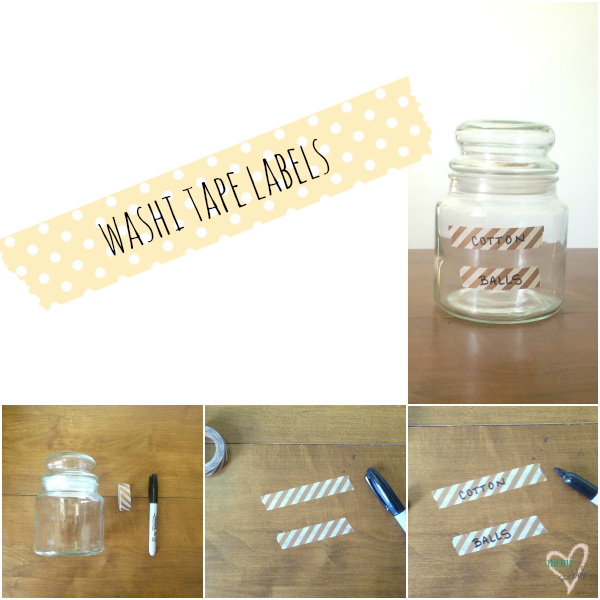
I wanted to share with you last week how to do washi tape labels. I guess later is better than never, right? It's an easy idea of diy ( it takes literally 2 minutes to do it). All you need is a cleaned glass jar, some washi tape and a sharpie (can be a black one or coordinated). I used whatever I had in hand and it came out unexpectedly pretty. Your imagination is the limit. 


How to do it? Take 1 (2 or how many you'll need) strip(s) of washi tape, write whatever you need with the sharpie, stick it on your glass jar. That's it. Now comes the fun part: where will you use your creative labels? To make some cute happy mail for a pen pal? For labeling glasses at a party? For some pretty organizing storage? I want to see/hear all your pretty ideas!


 So you read my post and suddenly fell in love with washi tape, but it's late, none of the closest craft stores are opened and you really want to use it now. In that case, or any other case that might be, here's a tutorial how to make your own washi tape. Pretty sweet, isn't it?

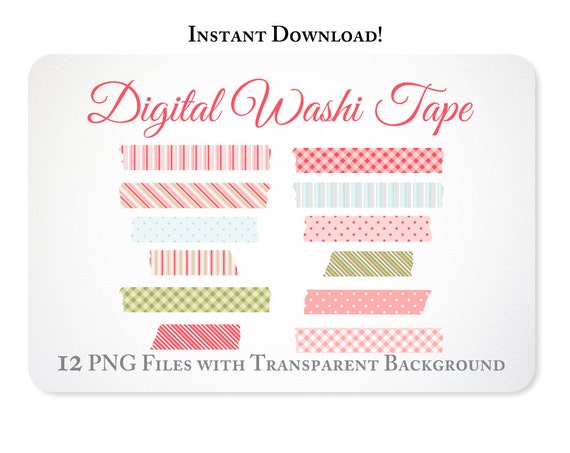
Update:  My apologies for totally forgetting to mention here the crazy awesome digital washi tape from a vegas girl at heart that I used in my photo above. Yes, there are very talented people out there who make these available for us:
via

via

Monday, August 27, 2012

Pink ribbon and some wholes


          Are you wondering how did I turn that old, ripped sweater into the cuteness you're staring at?... Very easy (and cheap!). All you need is: 
      • a (ripped) sweater, or T-shirt;
      • 2 1/4 of satin ribbon in your choice of color;
      • matching thread and needle (I didn't have a purple thread so I used black - you can't really tell);
      • scissors;
      • a little creativity and some patience.
          I saw this cute little sweater sitting all alone in the clearance isle at Old Navy last year. It was love at first sight, and that little whole just broke my heart. As soon as I saw it, I thought of the idea of wrapping a scarf around the V neck. So, I took it home and loved it some more (did I mention I paid $0.49 for it?). It sat in my closet until today when I figured out I will need it this fall and winter so I spent 30 minutes on it.
Back
Front
       
         Firstly, I made a "plan" in my head how I wanted the ribbon-scarf to look on the sweater. With the scissors I made another 6 wholes and sew the edges to stop the thread to unwind (I don't know if you can see it in the pictures, the sweater is a fine knit). Unfortunately I forgot to take a picture where the other wholes are. I inserted the satin ribbon through the wholes and made a bow. 
            Voila!!!! I took couple of pictures from front and back. Doesn't it look pretty?... Can't wait for the weather to get colder so I can wear it! 


        I think this is my cheapest make over I ever made. The ribbon was $2.00 (at AC Moore with 50% off coupon), and the sweater 49 cents which brings it to a total of $2.49 for a great girly sweater. 
           What was your cheapest make over? 

PS: If you have any questions, please ask, I'd be glad to answer. Also, if you decide to give it a try, please show off your results. I'm curious what you'll come up with! Have fun!!

I linked  this post over:

Growing HomeKeeping It Simple 
Lil’ Mrs. Tori