
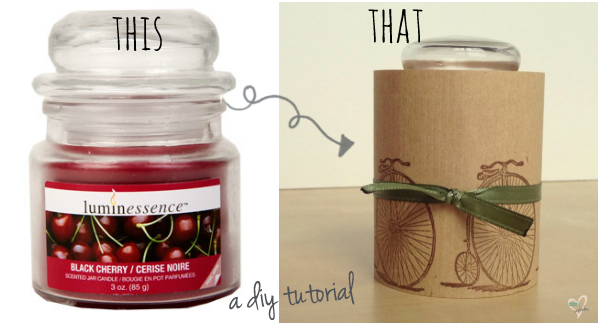
Remember that post I wrote back in April about decorating on a budget? Well, here's a quick tutorial how I made those candles. Believe me when I say it's easy, quick and cheap(my favorite combination)!
Now, I know the initial candle had the brown leaves stamped on it, on this tutorial I used a bicycle stamp, because I couldn't find any of my leaf stamps...:)
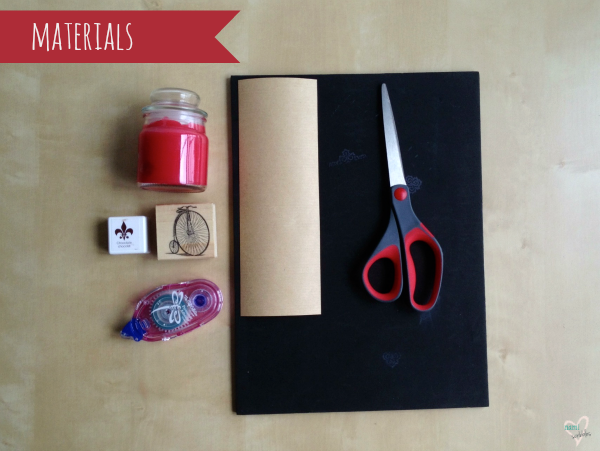
You will need:
- dollar store jar candle in your fav scent (I saw them at Michaells, too);
- brown bag paper(I didn't try it, but I think tissue paper might do it as well);
- stamp and ink of your choice;
- ruller and a pen;
- a pair of scissors or a craft knife;
- glue stick or double sided scotch tape or glue gun would do it too;
- 1/8 in satin ribbon (I forgot to show it in the picture).
(Photo with all required items)
Peel off the sticker from the jar. If you have troubles doing that, using a hear gun or the hair dryer, heat the sticker - it will come off very easy.
Cut 3x8.5in piece of paper. (I suggest to measure the height and width of candle before cutting your paper to make sure your piece of paper will be the desired height and long enough to "hug" the whole jar) Tip: don't cut the paper too high, it can easily catch on fire when the candle is lit up (I've learned it the hard way)
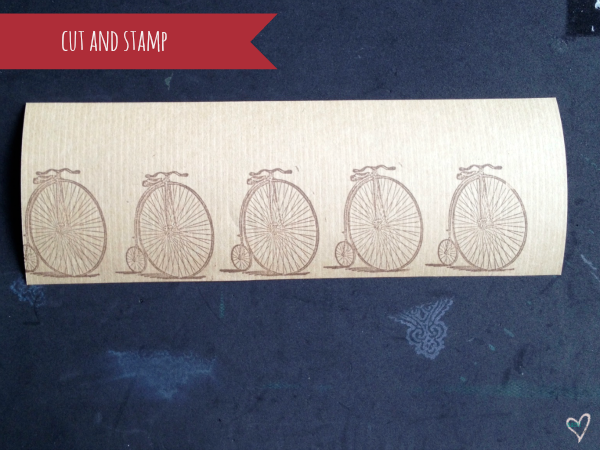
Lay the just cut piece of paper on a smooth surface (your desk) and start stamping. Your imagination is the limit. I know the candles for that event were with fall leaves, on the tutorial I used a different stamp because I couldn't find my stamp leaves. :)
The next step is the trickiest. Roll the new designed paper around the candle and glue the ends together.
Tie the ribbon around the candle and make a knot, or a cute bow, whatever you like most. I didn't have time so I made knots.
Voila!! You just made your first fancy candle! Now go make some more!!

***
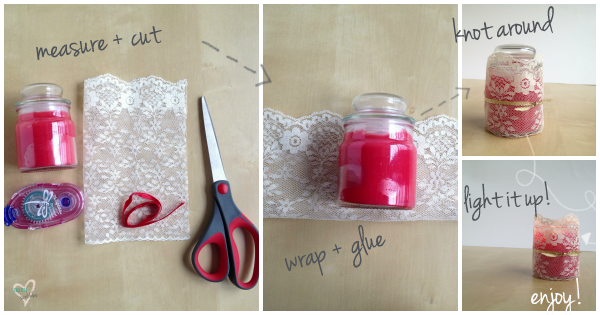
Because lately I'm loving lace, I bought a small piece of lace (for $0.75) and re-made one of my candles. It turned out cuter than I expected! To make it, you' do the same steps as above, but you'd skip the stamping.(so it's faster to make!).
I hope you, my readers, have enjoyed this little tutorial! If you do make some, let me know! And if you want to take pictures, I'd be more than happy to see them on Facebook, Instagram or whatever you are using! Just leave a comment below with a link to your photo!
Let's keep in touch
I love the bike stamp! I have it on one of your cards as well, looks really pretty! :)
ReplyDeleteThanks, Erika. I was certain you'll say something about that bike stamp. I love it, too!!!... :) So simple, and yet so suggestive.
Delete